Cakes are the world’s way to certify a moment as momentous. These are moments of your successes, get-togethers, birthdays, and relationship milestones. The cake is not just the star, but also the memory.
Your cake is truly outstanding when things special to you reflect on it. And, it is right, that now you can both bake and make your cake look exactly how you want! And what better way to personalize your cake than with your favorite photographs that bespeak joy?
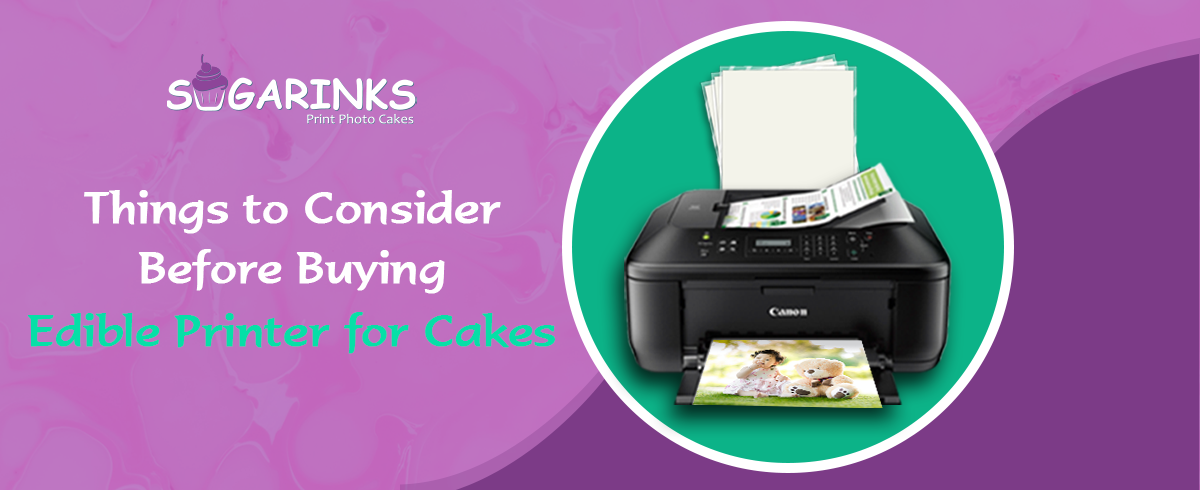
You need the right edible ink printer, edible ink, and edible paper.
Let’s learn:
- how you can create your edible images?
- how to print them?
- how to get them right on a page?
What You Need To Put the Perfect Photo on Your Cake
- Edible imaging is a process of printing photos on edible papers, which are frosting sheets or wafer papers.
- These photos can then be transferred onto baked items very easy to let the photo stick to the cake.
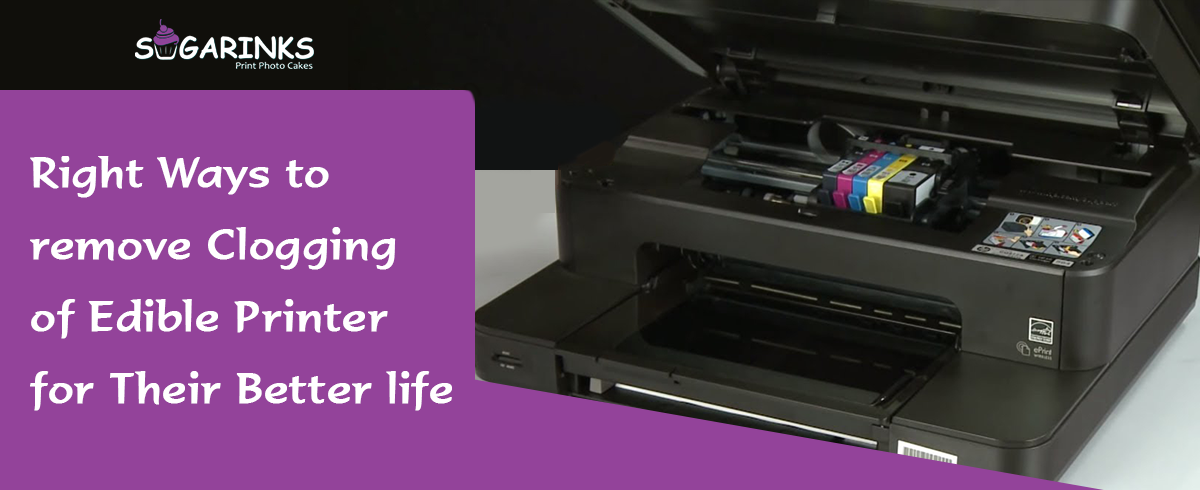
- You will need an edible inkjet printer that uses ink cartridges filled with food colors (or edible inks).
- Edible inks are safe for human consumption, approved by the FDA. These are made with natural food ingredients like vegetable oils, mixed with water.
- Your ink cartridges must be compatible with the edible printer you are using.
How to Print Your Image and Decorate Your Cake?
Firstly, you need to have a clear idea of how you want your cake to look like: the end result.
Then, simply follow these steps:
1. Print the image on the frosting sheet
Your frosting sheet has a plastic and a frosting side.
- Before printing, do not remove that plastic backing from the frosting sheet.
- Place the frosting sheet with the frosting side up on the printer. And the plastic side on the back.
- When your cake printer is ready with edible ink cartridges on it, your photograph of choice ready, press command to print.
- Slowly, the photograph will be beautifully printed on the frosting sheet.
- Once printed, allow it to dry for about 5 to 7 minutes.
2. Release the image from the backing sheet onto the cake
- Remove the image from the backing sheet, and put the printed frosting sheet carefully inside your freezer for about 45 to 60 seconds. This process will stiffen the icing on the backing sheet making it easier to remove the frosting paper.
- Now simply hold both ends of the sheet and roll it over gently over a countertop edge. The image will be released smoothly.
- Now using dry hands place the frosting sheet carefully on the freshly baked and decorated cake.
- Leave the cake for about half an hour to allow the printed photo to gently absorb into the cake.
3. Additional Tips
- Ensure that the icing on the cake is moist, as the moisture will ensure the blending of the image on the cake. It is ideal to have that surface of the cake you are printing the image to be smooth.
- Use your hands to smoothen the printed image on the cake surface to negate any air bubbles, thus allowing it to sit perfectly, letting the image stand out.
Your very unique cake with your own personal touch is now ready!
While customization of cakes was once meant for and affordable to professional bakeries, it is no longer so.
Whether you are a home baker or gifting a cake to someone dear, every bit of it is now achievable at home using your simple computer. The best part is, none of this requires you to be very skillful or technically adroit.
There’s no stopping now! You can have your perfect cake, and eat it too!


Leave A Comment